
When processing a new image, there’s a quick technique you can use to improve the perceived definition and clarity of your images. I learned this technique several years ago and still use it to this day. I’d say 90% of images will benefit from this.
The theory behind it is that it increases contrast locally instead of globally. It will enhance detail in transition areas without blocking the shadows or blowing the highlights.
So, without further delay, here’s the process. I’m using Adobe Photoshop CC, but any previous version will work.
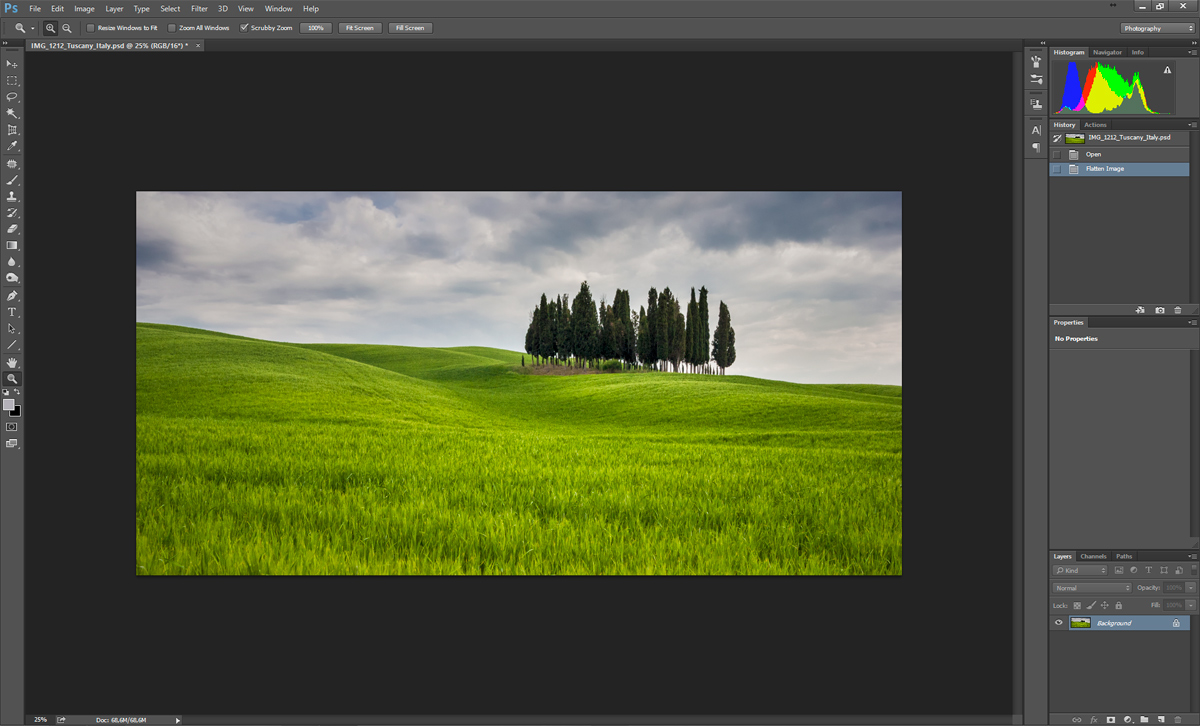
1 – After opening a new image for processing, my first step is always to take care of noise and clean-up (removing dust spots and such). I find that if I do this in the earlier stages of image processing, it helps avoid problems later on because, usually, processing will enhance any feature, good or bad.
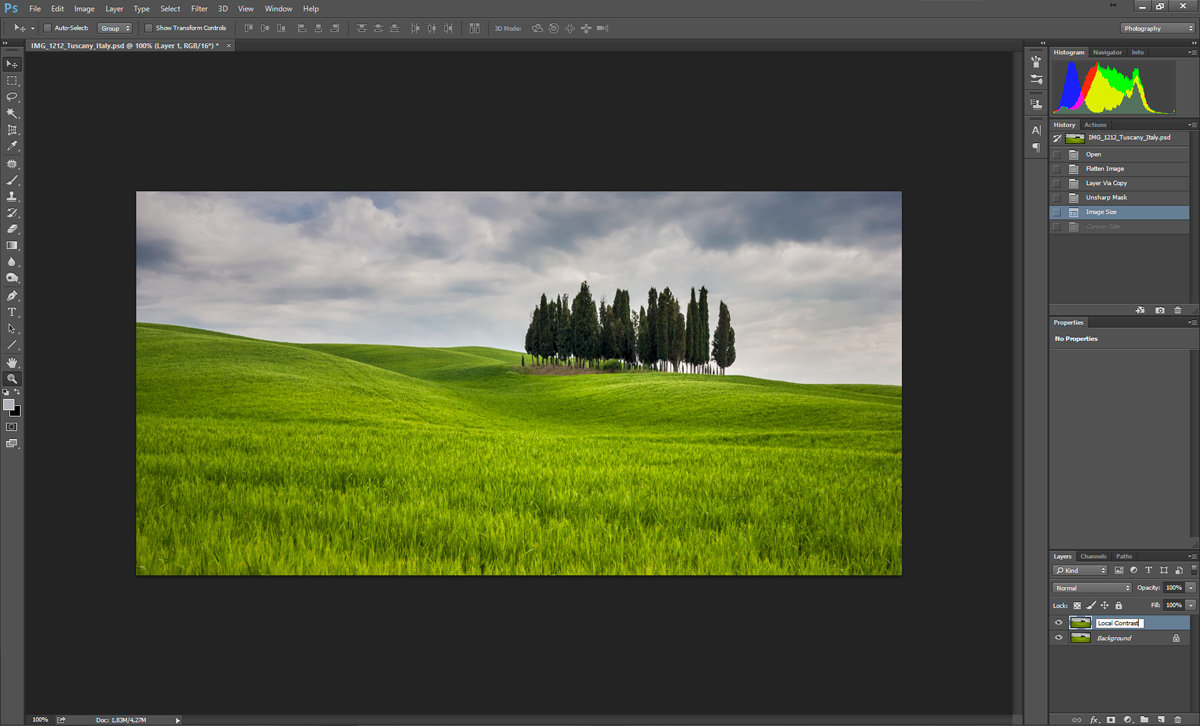
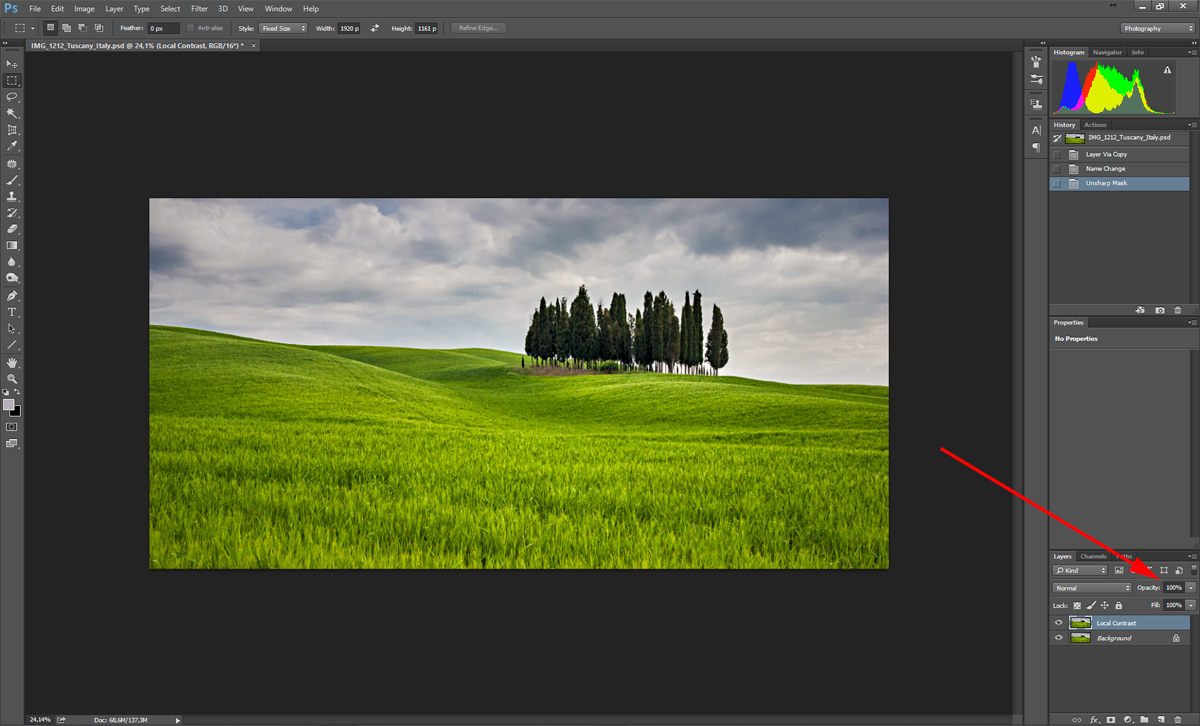
2 – Duplicate the background layer by dragging it to the new layer icon or by pressing Command-J on a Mac or Ctrl+J on a PC.

3 – Double-click on the new layer’s name (it is probably called “Layer 1”) and change it to “Local Contrast.” This is not mandatory, but if you get into the habit of naming your layers, it’ll be easier to know what you did when you revisit the image in the future.
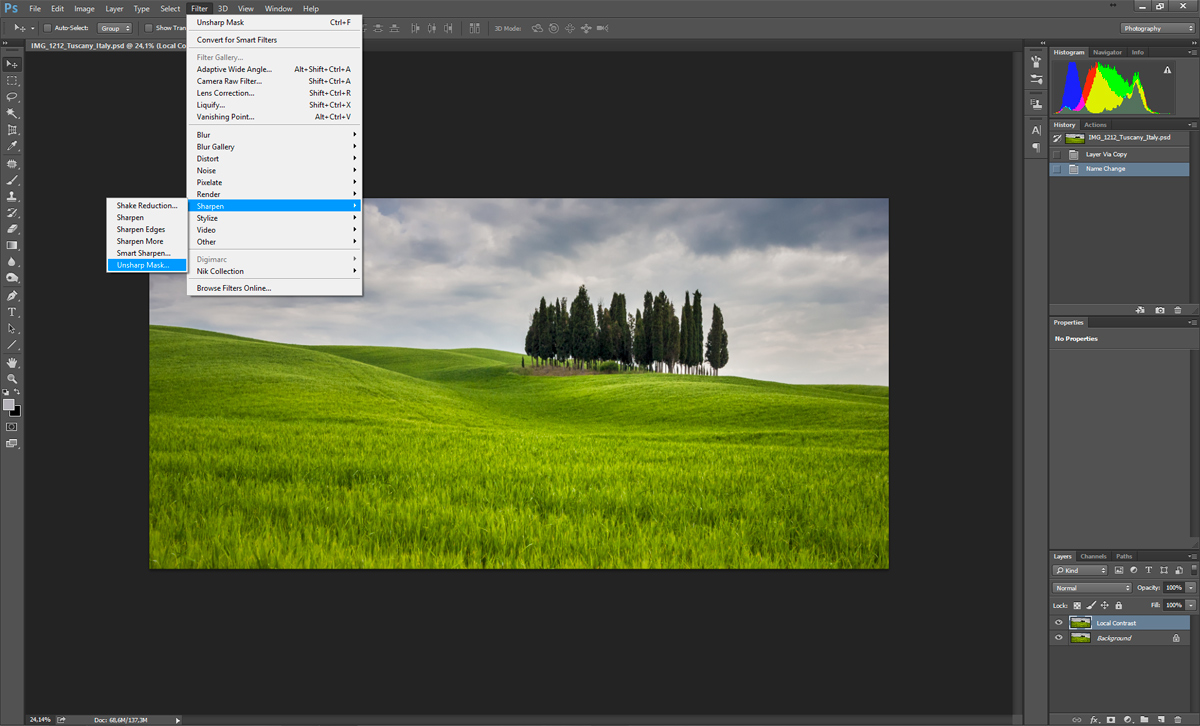
4 – With the new layer selected, go to Filter -> Sharpen -> Unsharp Mask…
5 – Use these settings:
- Amount: 25%
- Radius: 25px
- Threshold: 0
Amount defines the strength of the filter. Radius defines the area around the contrast lines that gets affected. Threshold is the difference between dark and light parts of the image that will make Photoshop consider it in the filter.
You may use other values as long as you understand the effects they will have on the type and resolution of your image. Increasing Amount will enhance the effect even more. Increasing Radius will create wider transitions. Increasing Threshold will reduce the areas affected.

6 – Press OK to apply the filter.
7 – If you think the effect is too pronounced, you can use Edit -> Fade Unsharp Mask (Command-Shift-F on a Mac or CTRL+SHIFT+F on a PC). What this does, basically, is to reduce the opacity of the effect. This option is only available right after you apply the filter. If you do something else, you won’t be able to fade the effect.
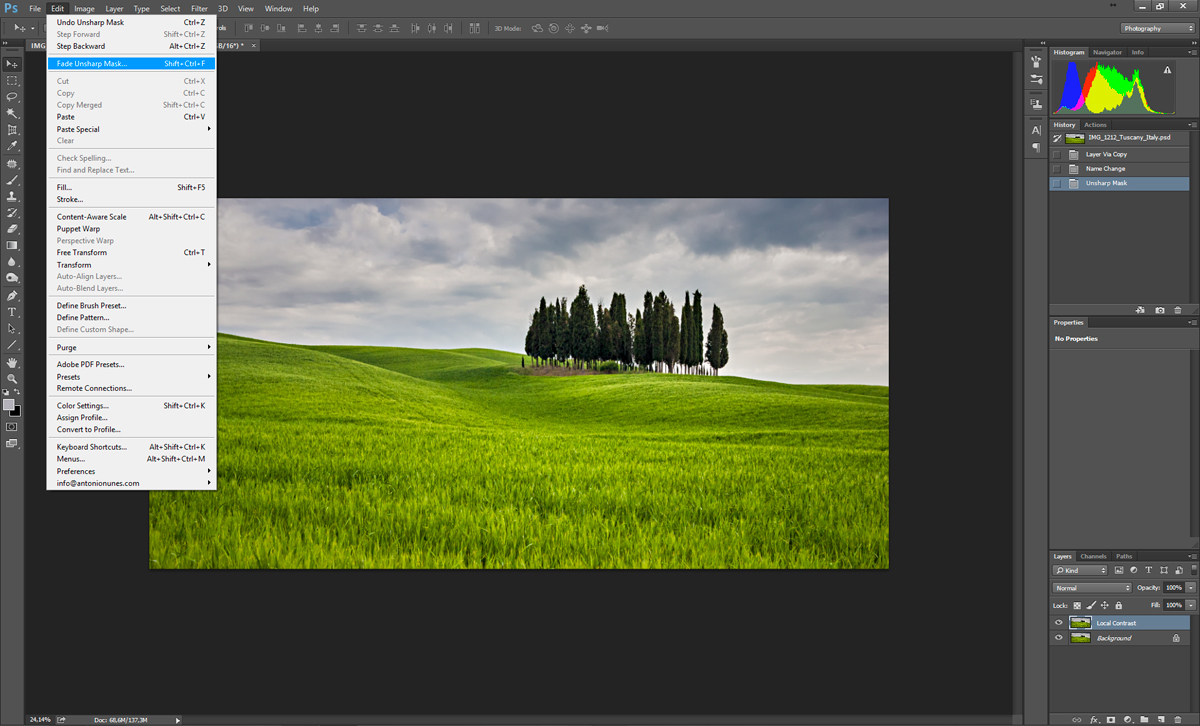
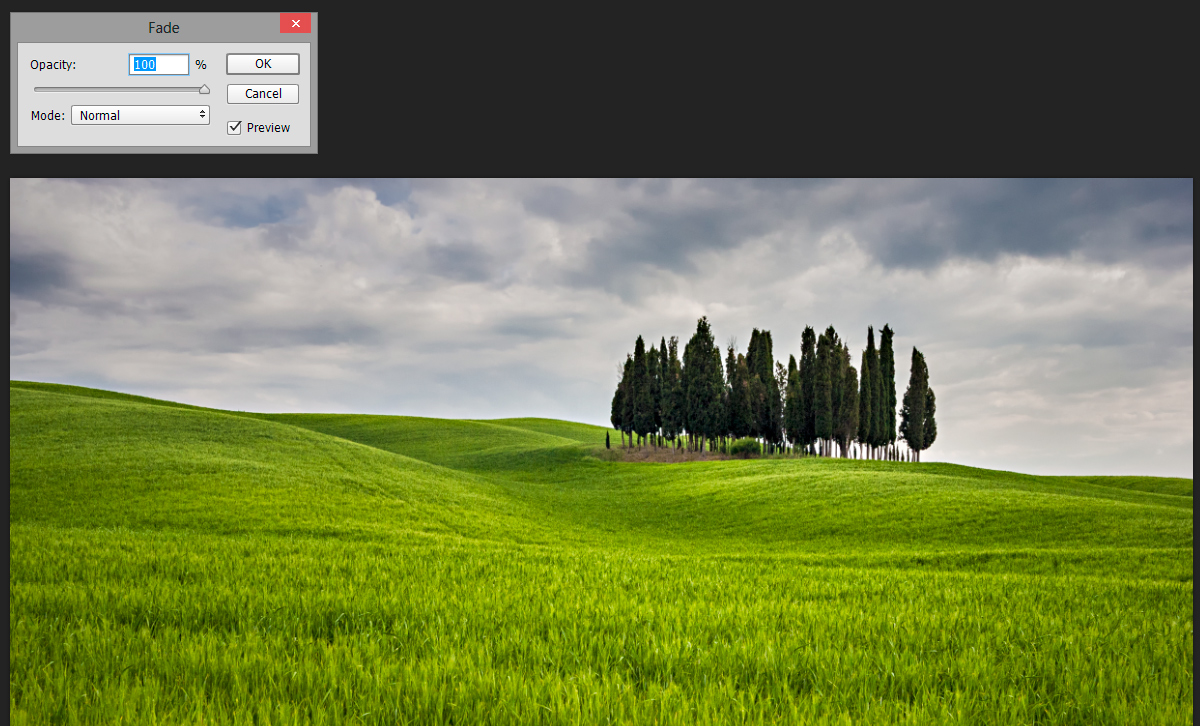
Alternatively, you can just reduce the affected layer’s opacity.
A weak unsharp filter with a high radius and no threshold is key to this technique. It will slightly increase contrast on transition areas, giving it a more lively and defined look.
Alternative Method – Working with smart filters
I always try to work non-destructively. That way I can review my processing and correct it if I have a change of heart.
One of the ways of working non-destructively is by using smart filters. What this does is applies the filters as child objects of the layer you’re working with (a smart object). You can change any settings of the filters you applied as well as opacity and blending modes.
Unlike adjustment layers, filters act on a pixel level, and their results aren’t reversible. You can work around this somewhat by applying filters in different layers as we did before, but that doesn’t change the fact that if you want to go back and change the filter settings, you have to do it all over again.
So, this is what will change in our processing:
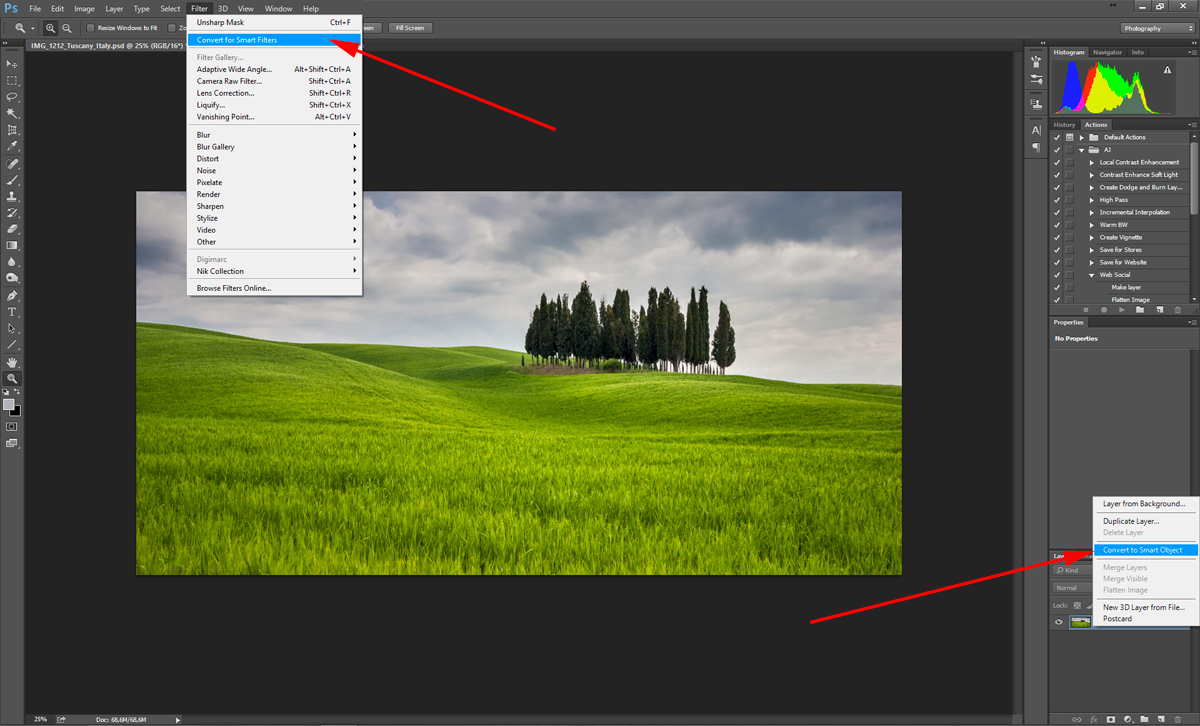
1 – Convert your main layer into a Smart Object. You can do this by either right-clicking the layer and selecting “Convert to Smart Object” on the menu, or, with your layer selected, going to Filter -> Convert to Smart Filters.
2 – Proceed from Step 4 as described above.
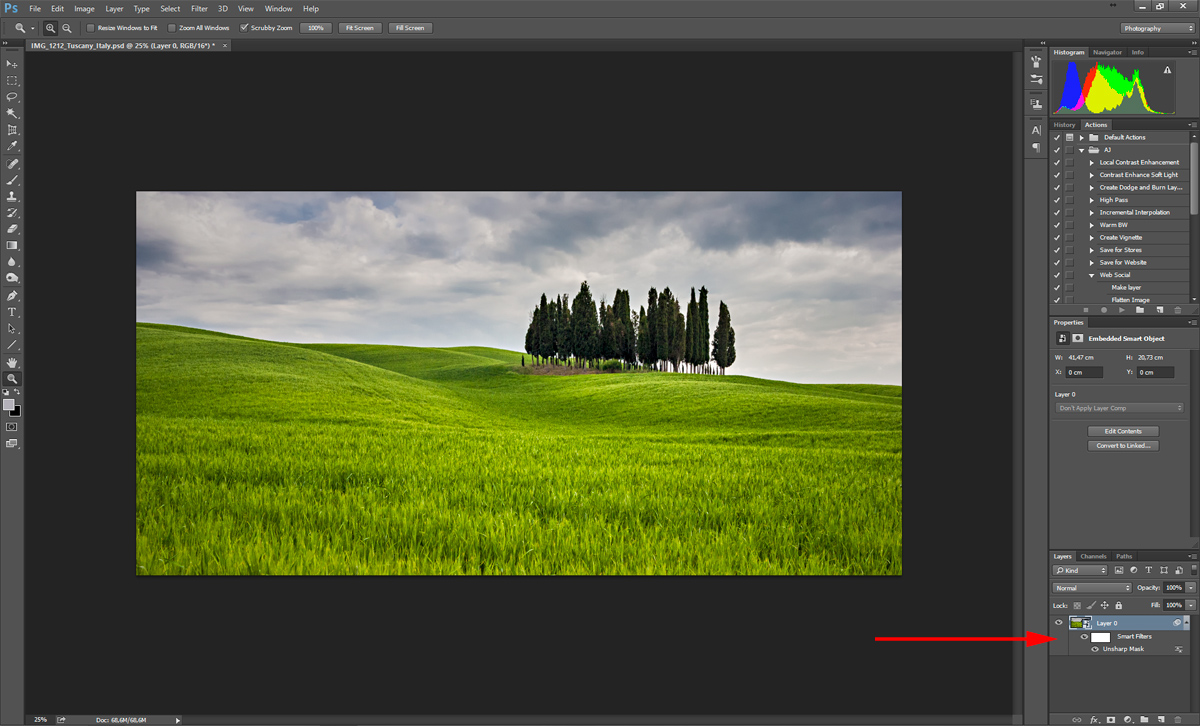
The difference is the Unsharp Mask will now show as a child object of the layer, below “Smart Filters.” If you double-click it, you can edit the settings of the filter and reapply it.
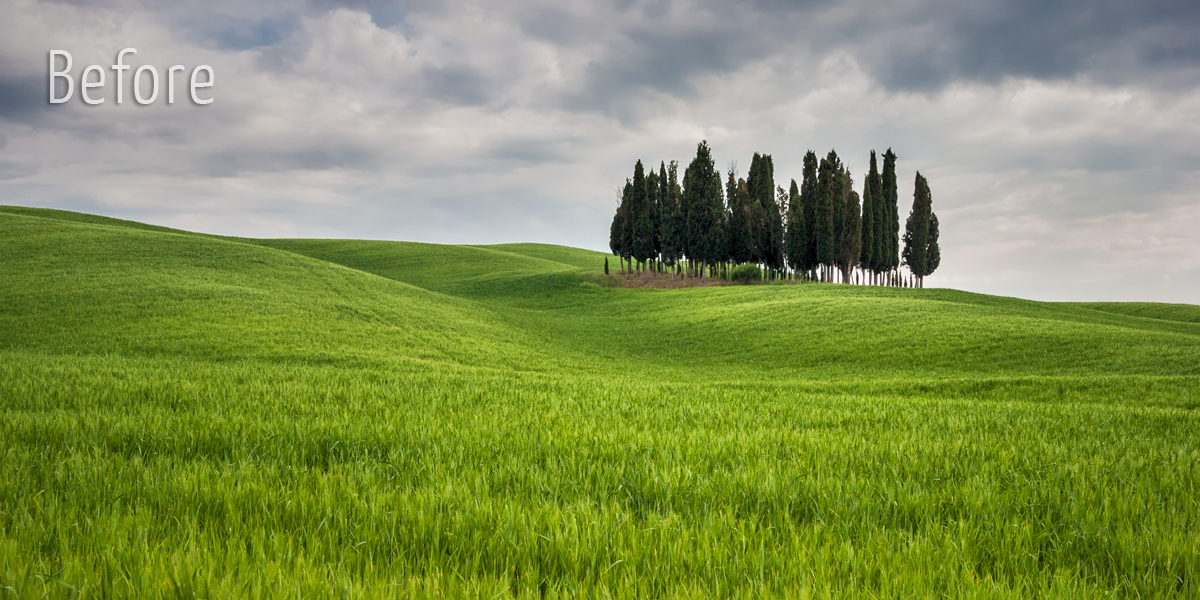
Here’s a before and after with this technique applied. Just move your mouse over the image to see the effect.
And that’s it. I hope you found this quick tutorial useful. Feel free to leave any questions or comments in the comment section below.


One thought on “Quick Tutorial: Local Contrast Enhancement with Unsharp Mask”
Excelente tutorial. Obrigado!!