
Welcome to Part II of my star trail shooting tutorial. The first part was all about the shoot itself. I hope you got some rest afterwards as that was only the beginning. If not, now would be a good time to have a cup of coffee or a spot of tea before we get started on creating the final image.
What you’ll need
Pre-processing software
If you shoot in raw format, which I highly recommend, you’ll need to convert your raw files to jpeg because the current version of the star trail blender software we will be using can’t handle raw files yet. For this, you can use any raw converter like Adobe Camera Raw, Adobe Lightroom or even the software that came with your camera. If you shoot in jpeg format, you won’t need to do this conversion.
Image stacking software
We’ll need to stack and blend all those images we took in Part I into a single image that will show the Earth’s movement in relation to the starry sky. For that, we’ll use StarStaX, which is a free image stacking and blending software that was developed specifically for star trail photography. It will run on Windows, Max OS and Linux. You can download it by following this link.
Of course, we could blend the images using other software. As with anything else in image processing, there are any number of ways to achieve a similar end. However, StarStaX is free, simple to use and will give us great results.
Image editing software
After creating the final image with the glorious star trails, we’ll need to give it some finishing touches like correcting little details, and adjusting color and contrast. I use Adobe Photoshop, but the steps are reproducible in any other photo editing software such as GIMP (Windows, Mac OS, Linux) or Paint.NET (Windows only), both of which are viable, free applications.
Let’s begin.
Preparing the files
I used Adobe Bridge to import all the images and landed here:
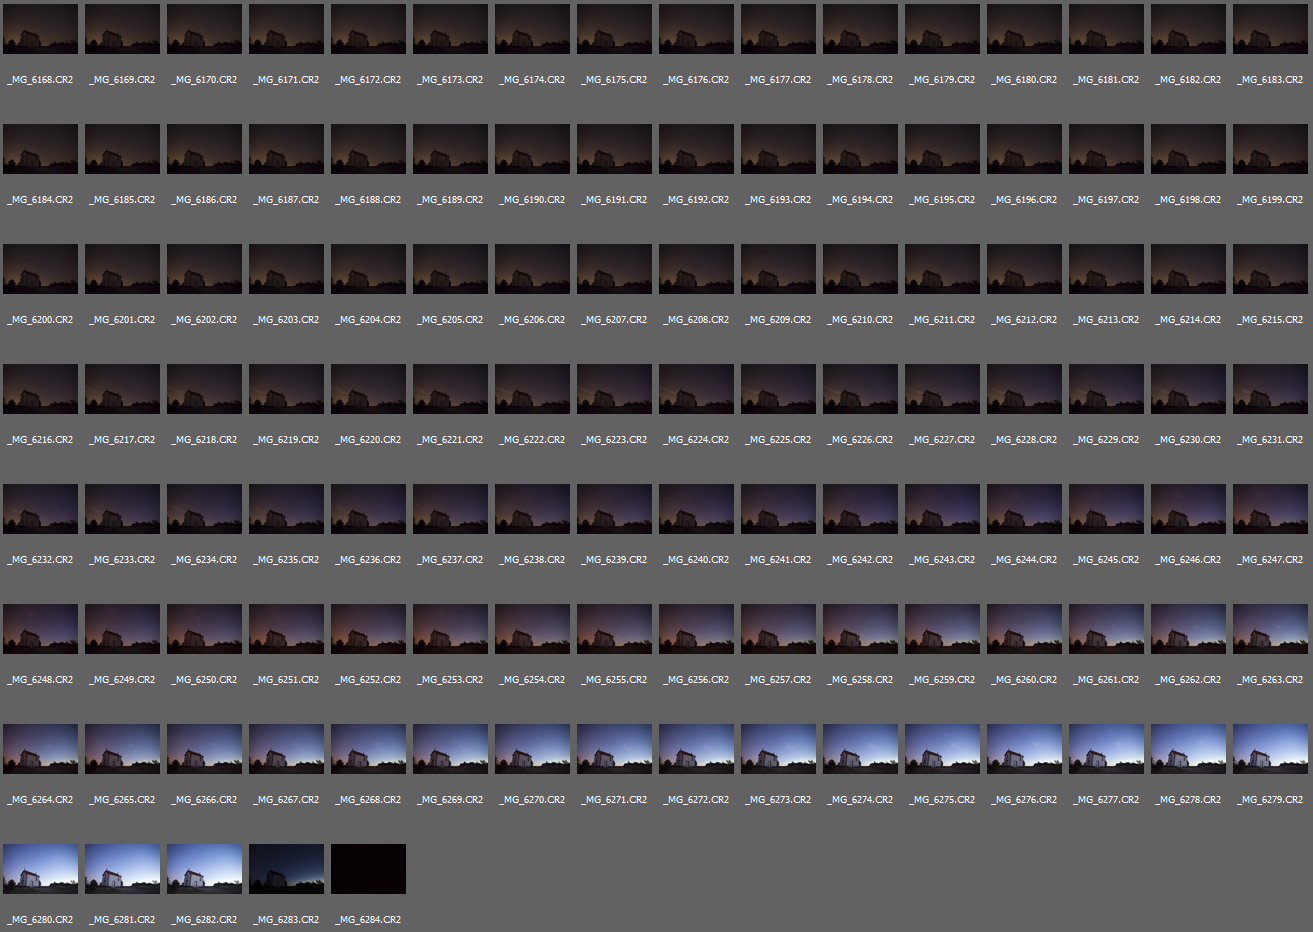
In this case, I started the trail sequence a bit late (around 4:44am) and the sun rose about one hour later. On the one hand, this is less than ideal as there is too much light in the photos taken toward the end of the shoot. On the other hand, the color and light variation in these shots can help to create a richer image, as long as they are not too bright, which would cause the star trails to look faded.
Notice that the last two shots in the series are the dark frame and the foreground image as described in Part I.
For this example, I’m using Adobe Camera Raw to convert the raw files to jpeg. You can skip this part if you shot in jpeg format.
1. While still in Adobe Bridge, select all the images you want to use in your final image, except for the dark frame and foreground shot. We’ll get to those later. In this example, I left the last 10 or so frames out of this process because there is too much light in them.
2. After making your selections, right-click (PC) or Control-click (Mac) on one of the thumbnails and choose Open (or just choose File > Open).

This will open all of the selected images in Adobe Camera Raw:
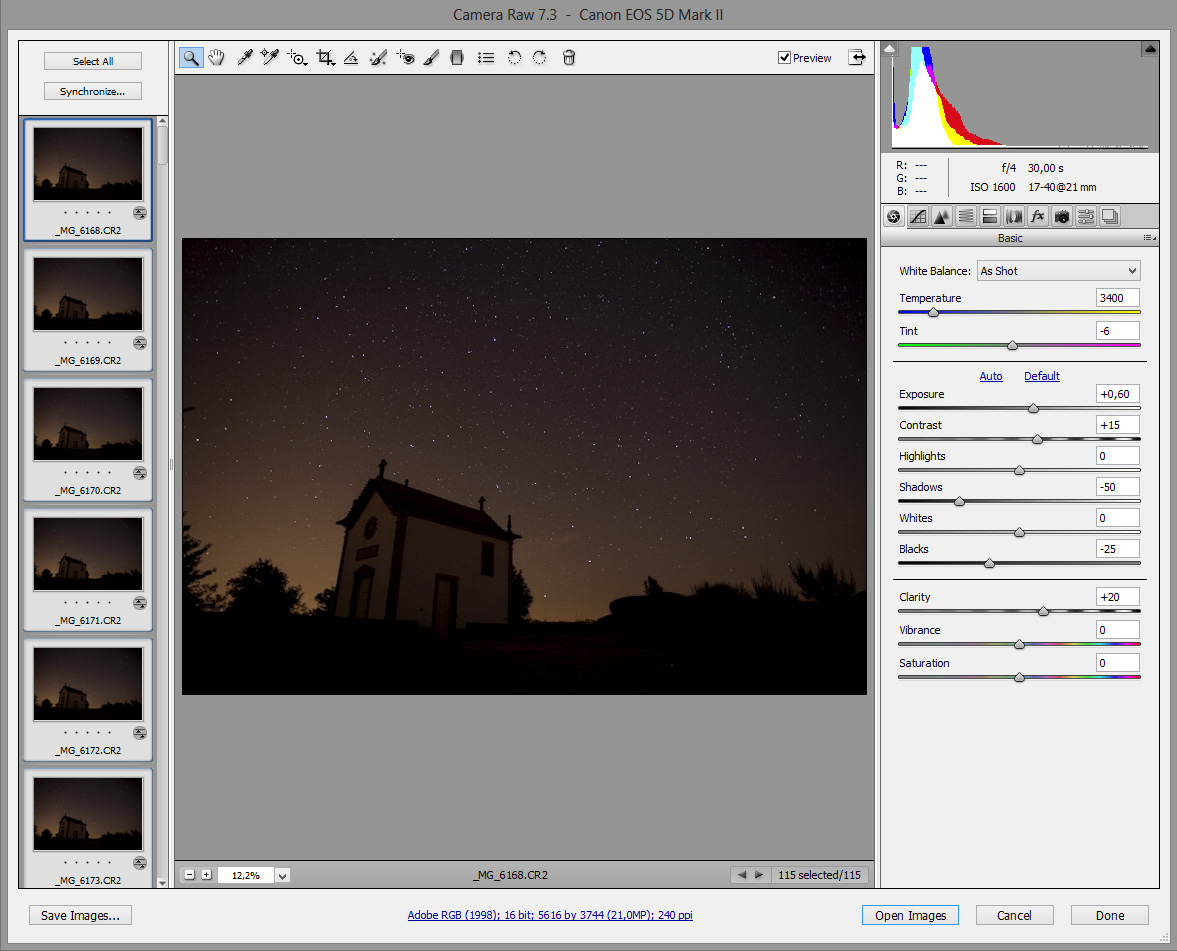
3. Once you have the images in Adobe Camera Raw, click the Select All button. Process the image so that the sky looks how you want it to look. Don’t worry about how the foreground looks as we will take care of the foreground later by using the foreground image we captured during the shoot.
4. When you’re done making adjustments, click the Synchronize button so all your images will use the same settings. Then click the Save Image button.
The Save Options dialog opens:
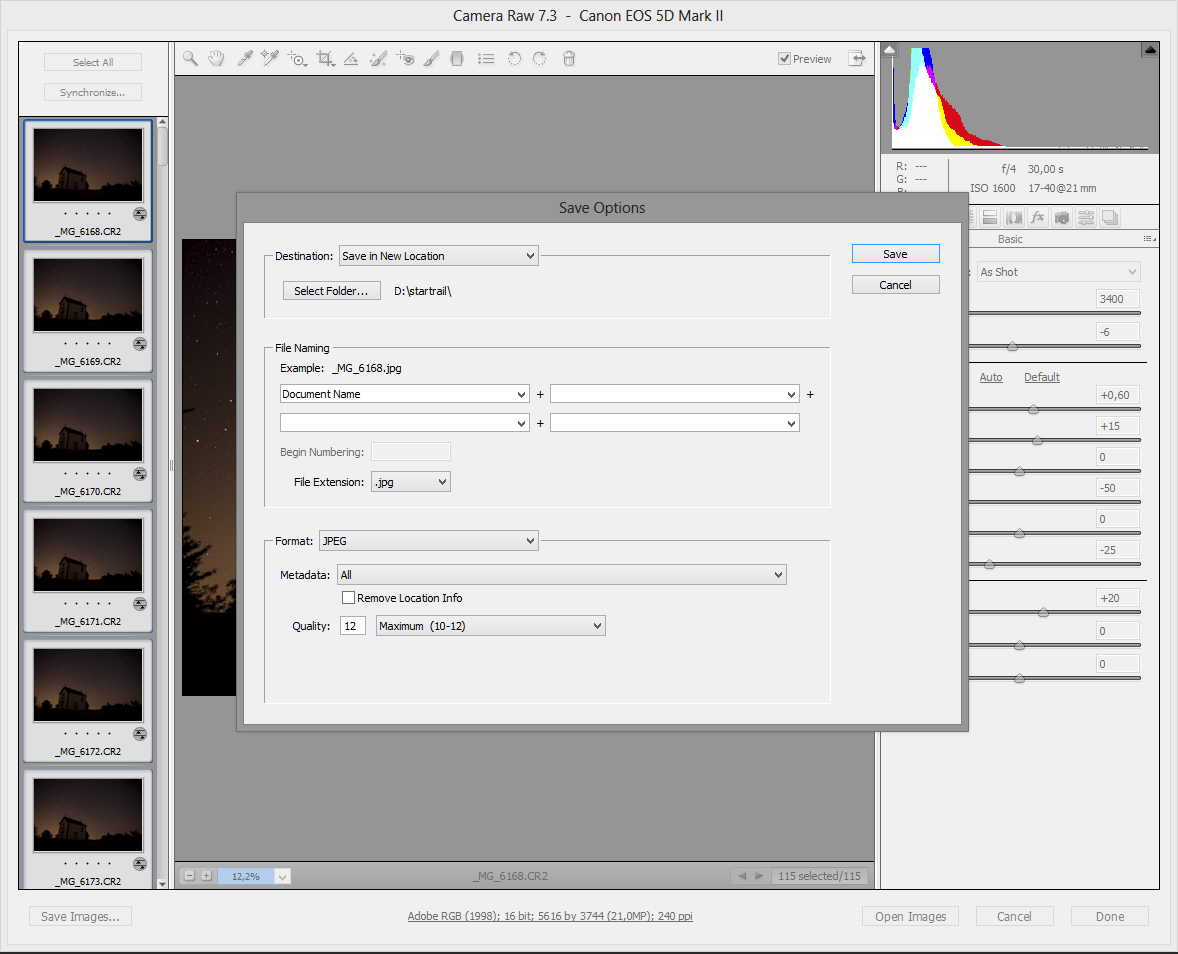
5. Click the Save in new location tab. This will allow the images to be saved wherever you please. In this example, I didn’t make any changes to File Naming, but feel free to use your own file naming scheme.
6. For Format, choose JPEG, with quality 12 (the best possible).
7. Click the Save button. This might take some time to complete.
8. Click the Done button when the process is finished. This will save your settings and return you to Adobe Bridge. (Do not click Open or you’ll open all the images into Photoshop instead.)
We have now converted all the images to jpeg. Check the folder where you saved the images and you should see the jpeg images there.
Processing the Dark Frame
Before we proceed to StarStaX, let’s take care of the dark frame.
1. Open your dark frame in Adobe Camera Raw and save it as a JPEG with Quality set to 12. Don’t make any changes to it.
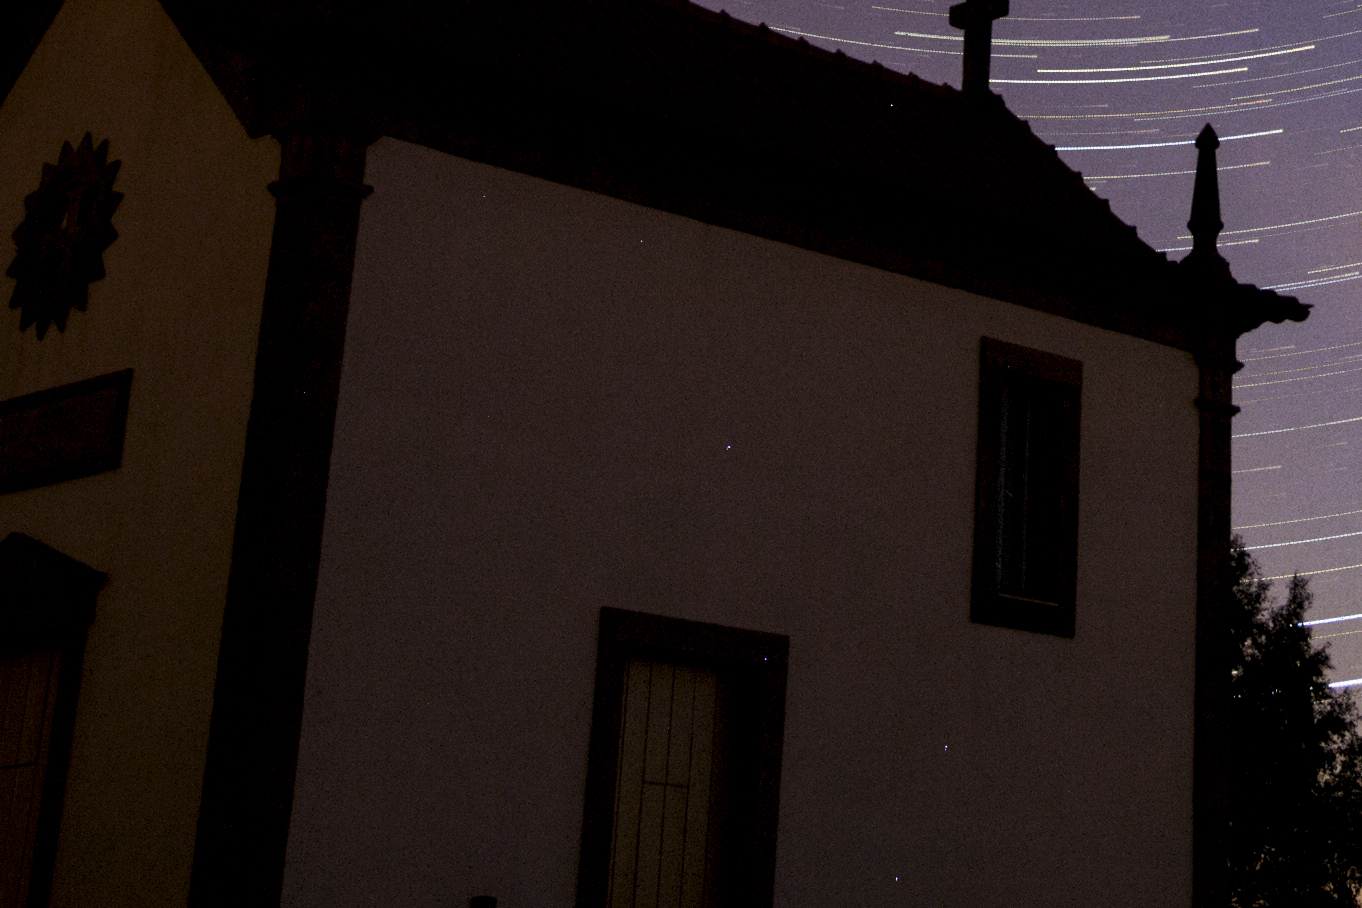
In the example below, I’ve increased the exposure to +4 just so you can see what the dark frame contains. Don’t do this to your own dark frame. Again, you want yours to be as shot.
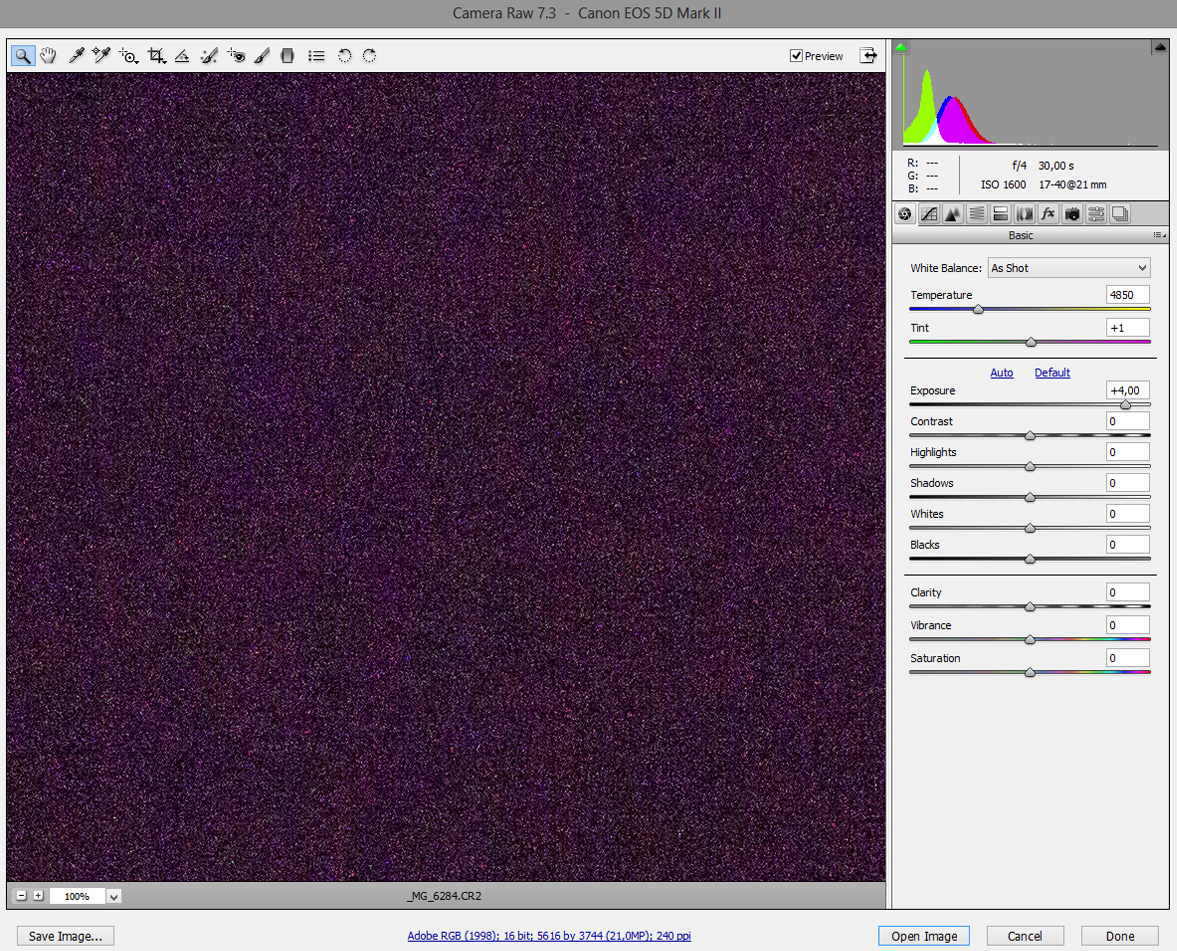
As you can see, there’s a lot of noise and hot pixels in the image. This is normal as we used a long exposure (30 seconds) at a high ISO (1600). Like I mentioned in Part I, sensor heat and hot pixels create these noise patterns. Having this dark frame will help us remove these from the final image to get a cleaner result.
Stacking the images with StarStaX
We are now ready to stack the images to merge them into a single frame.
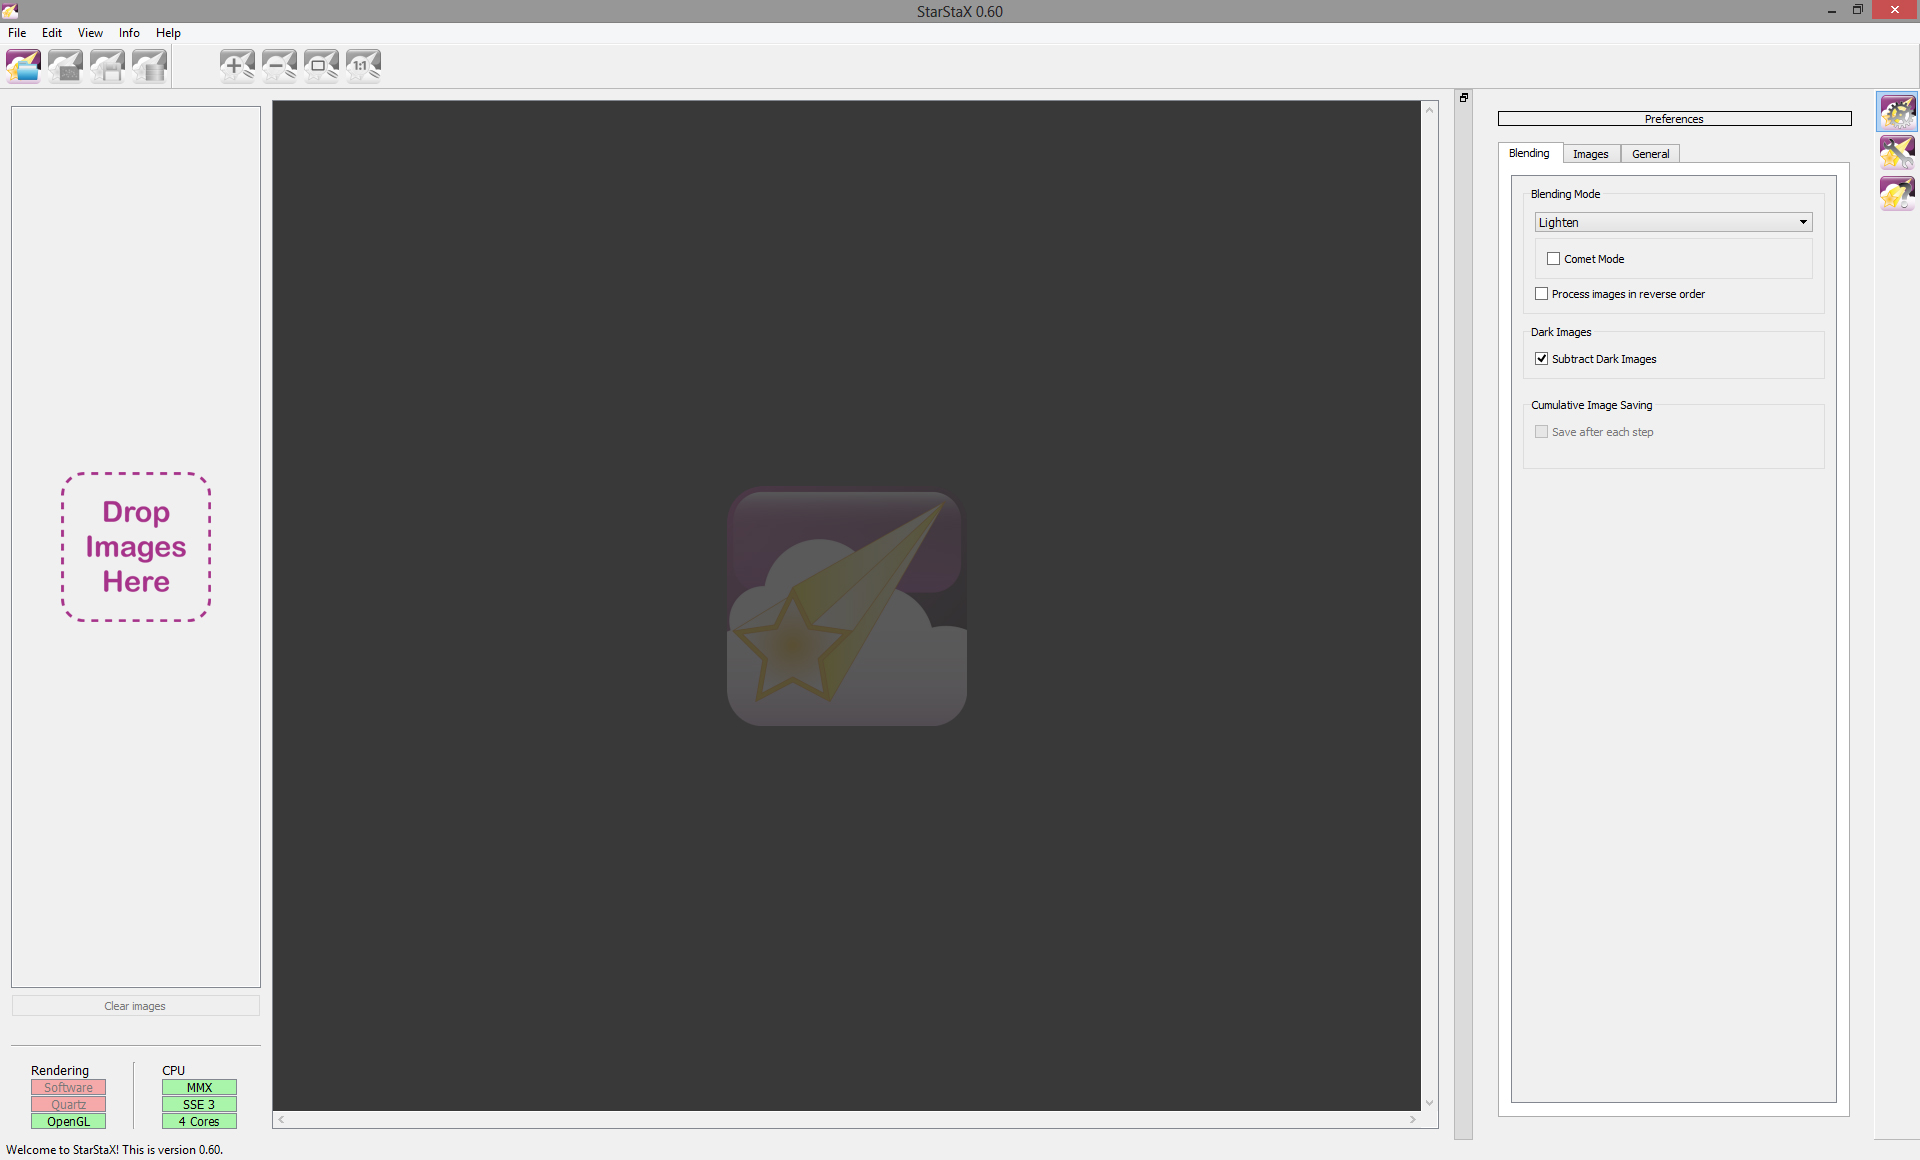
1. Open StarStaX. (No installation is required in Windows. Just decompress the zip you downloaded and double-click the StarStaX.exe file.)
2. Load all your images except for the dark frame and foreground shot by dragging them onto the Drop Images Here area. You can also click the Open Images button (first button from the left on the toolbar) and select your images.
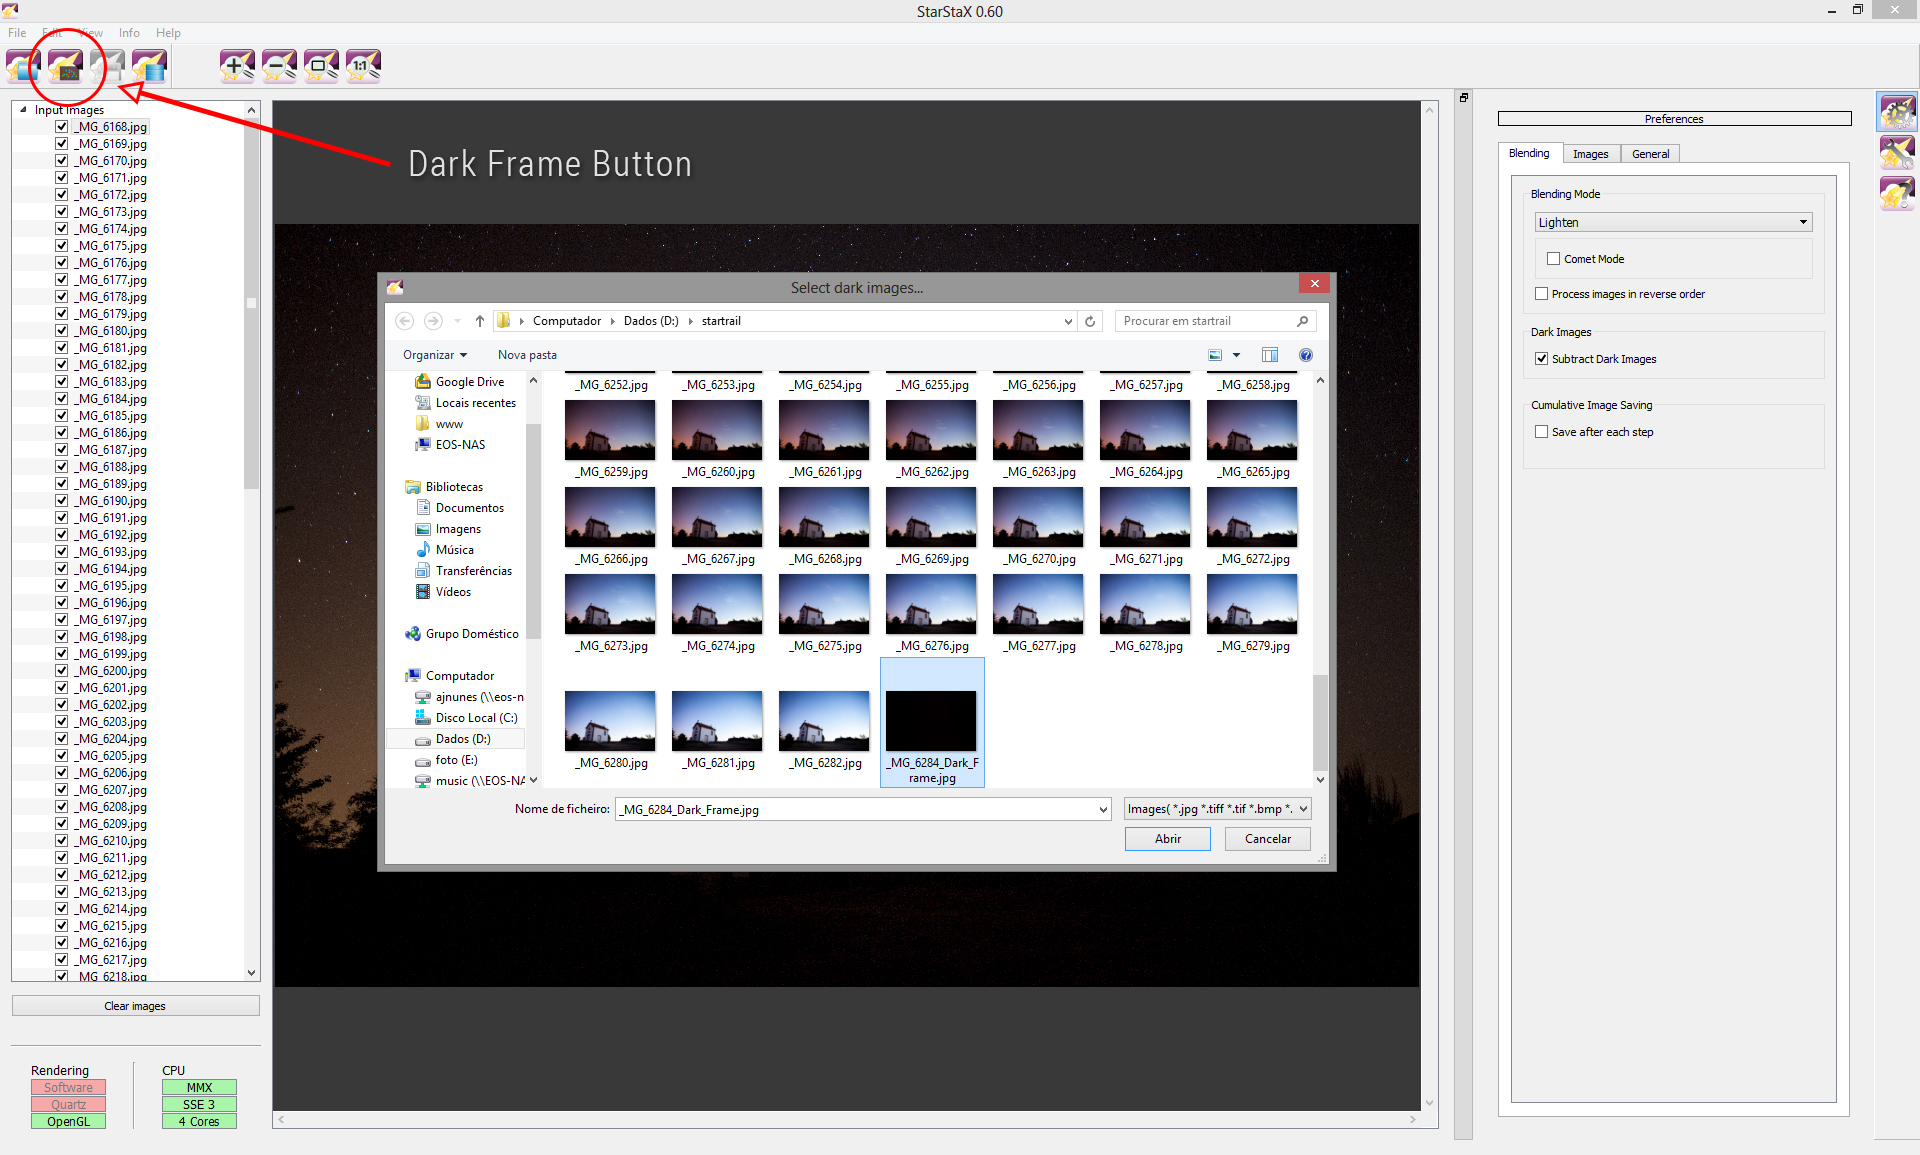
3. Once you’ve loaded the images, click the Open Dark Frames button (the second button on the toolbar). Select your dark frame image and click Open.
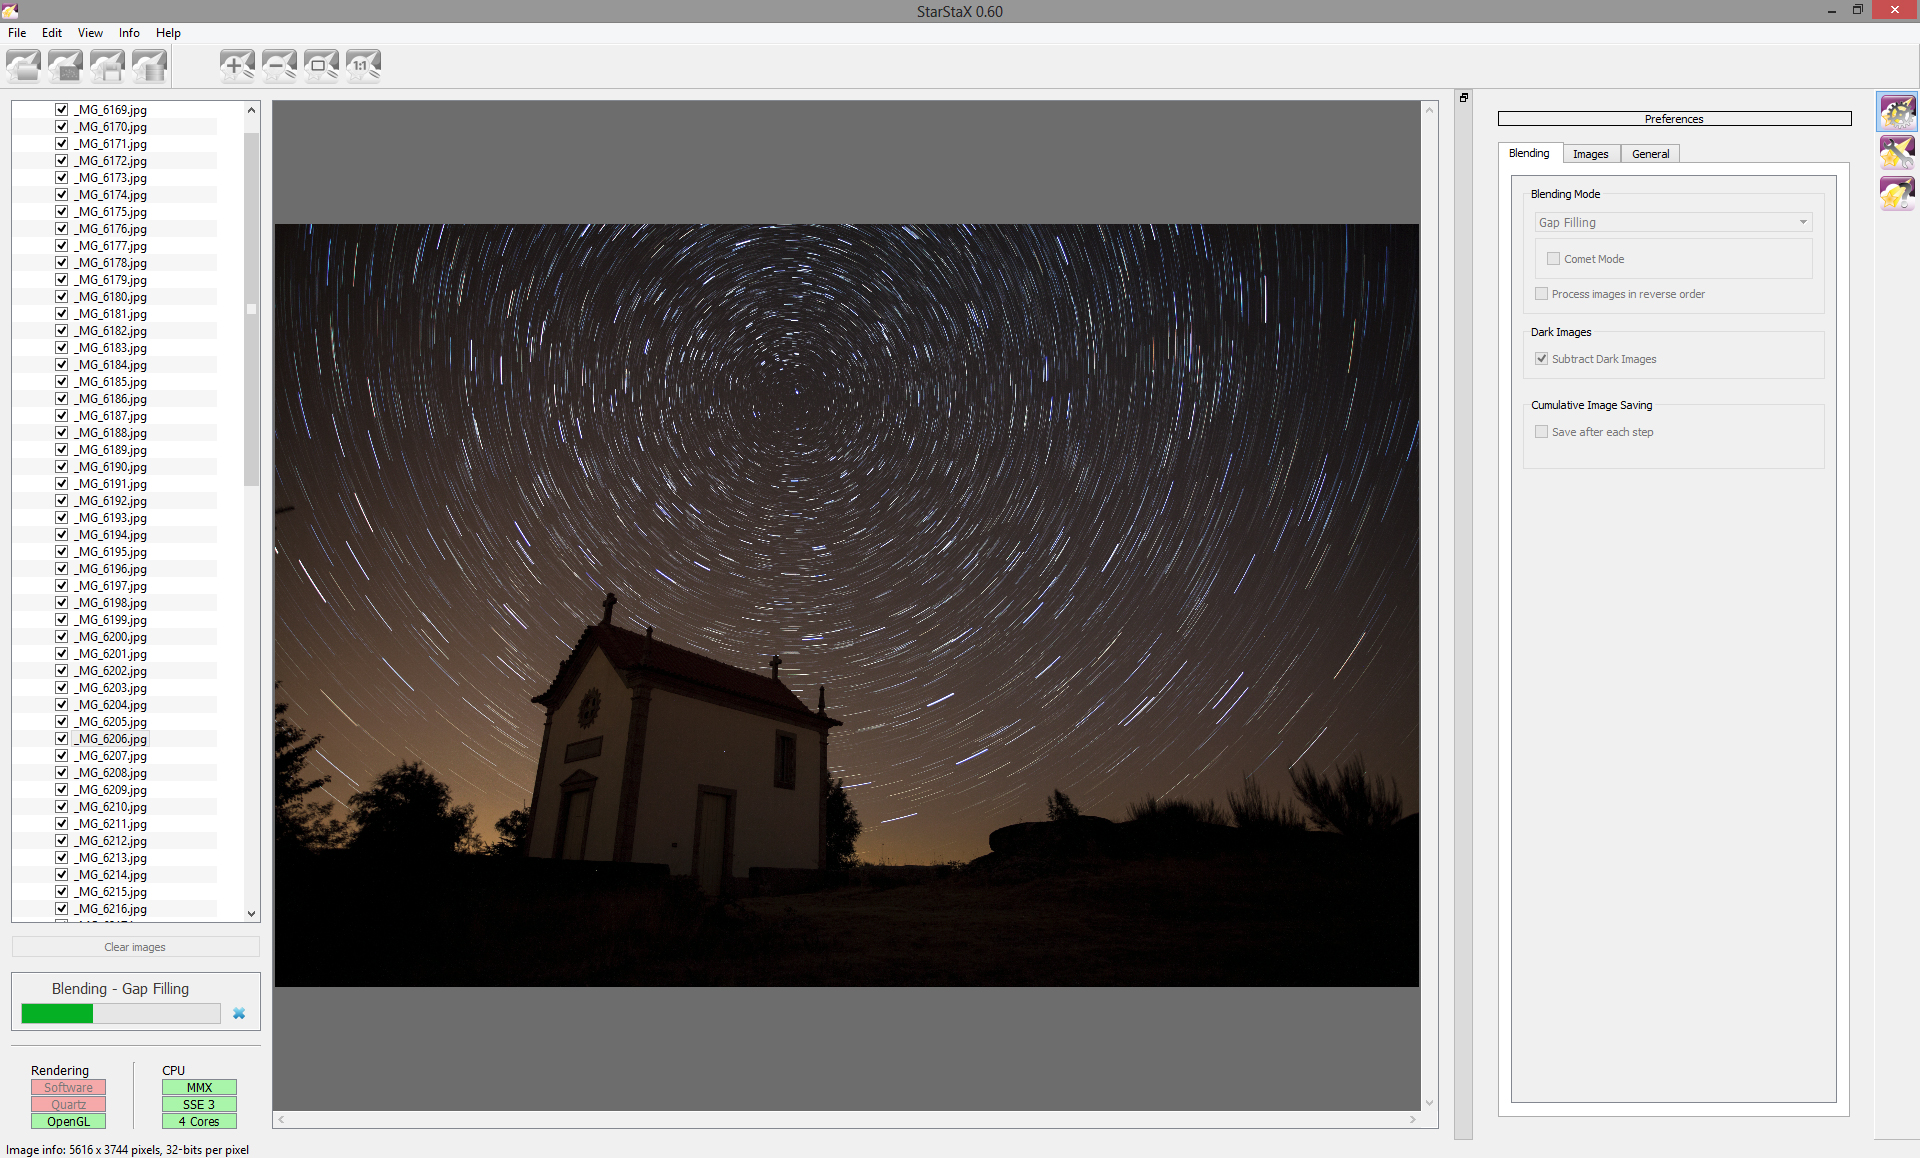
Preferences
Now that all the images and dark frame are loaded, let’s take a look at Preferences. These will tell StarStaX what to do with our images.
If the Preferences pane is not already open, click the Preferences button located along the right side of the window (the button with a gear icon).
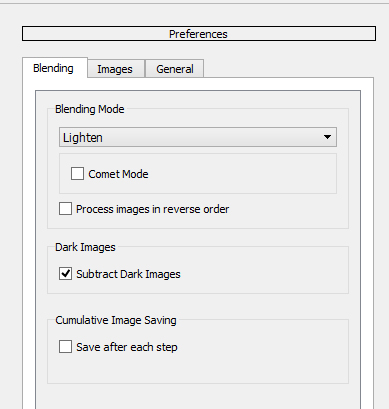
Which Blending Mode?
The Lighten blending mode works by comparing all of your images and picking the brightest part in each image to add to the final image. You can select Lighten if nothing happened during your shoot that would have caused you to miss even a single consecutive shot, such as wiping condensation off the lens or changing the camera battery. Even losing a few seconds during the shoot will be noticeable.
StarStaX also has a very interesting blending mode called Gap Filling. It works like Lighten, but you can fine-tune it to fill gaps in the trails. However, if your image is bright, you should avoid choosing Gap Filling as it won’t be able to tell the stars apart from the background. In that case, choose Lighten.
Gap Filling saves us from having to do a lot of additional post processing work, so I’ve chosen it as the blending mode for this example.
Comet Mode
This option will allow you to make your trails look like comets (that is, the trail will appear to get thicker as it progresses). I usually leave this unchecked.
Process Images in Reverse Order
This will cause your star trails to appear to be travelling in the opposite direction (that is, clockwise instead of counterclockwise if you’re in the Northern Hemisphere). This can create interesting results. In this example, however, my exposures were progressively lighter since I shot close to sunrise. Therefore, I’ve left this unchecked.
Dark Images
Select Subtract Dark Frames as this will allow StarStax to subtract the dark frame from the final image.
Cumulative Image Saving
This will only make the process longer. Since we’re not making a time-lapse movie, leave it unchecked.
Preferences > Images
1. Click the Images tab in Preferences.
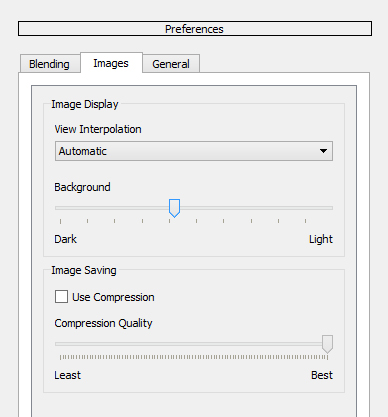
2. Under Image Saving, select Use Compression and drag the Compression Quality slider all the way to the right toward Best. Or, leave Use Compression unchecked for a better final result.
Processing
We are ready to start the star trail blending.
Click the Start Processing button (the 4th button) on the toolbar. This might take a while, so now would be a good time to refill your coffee.
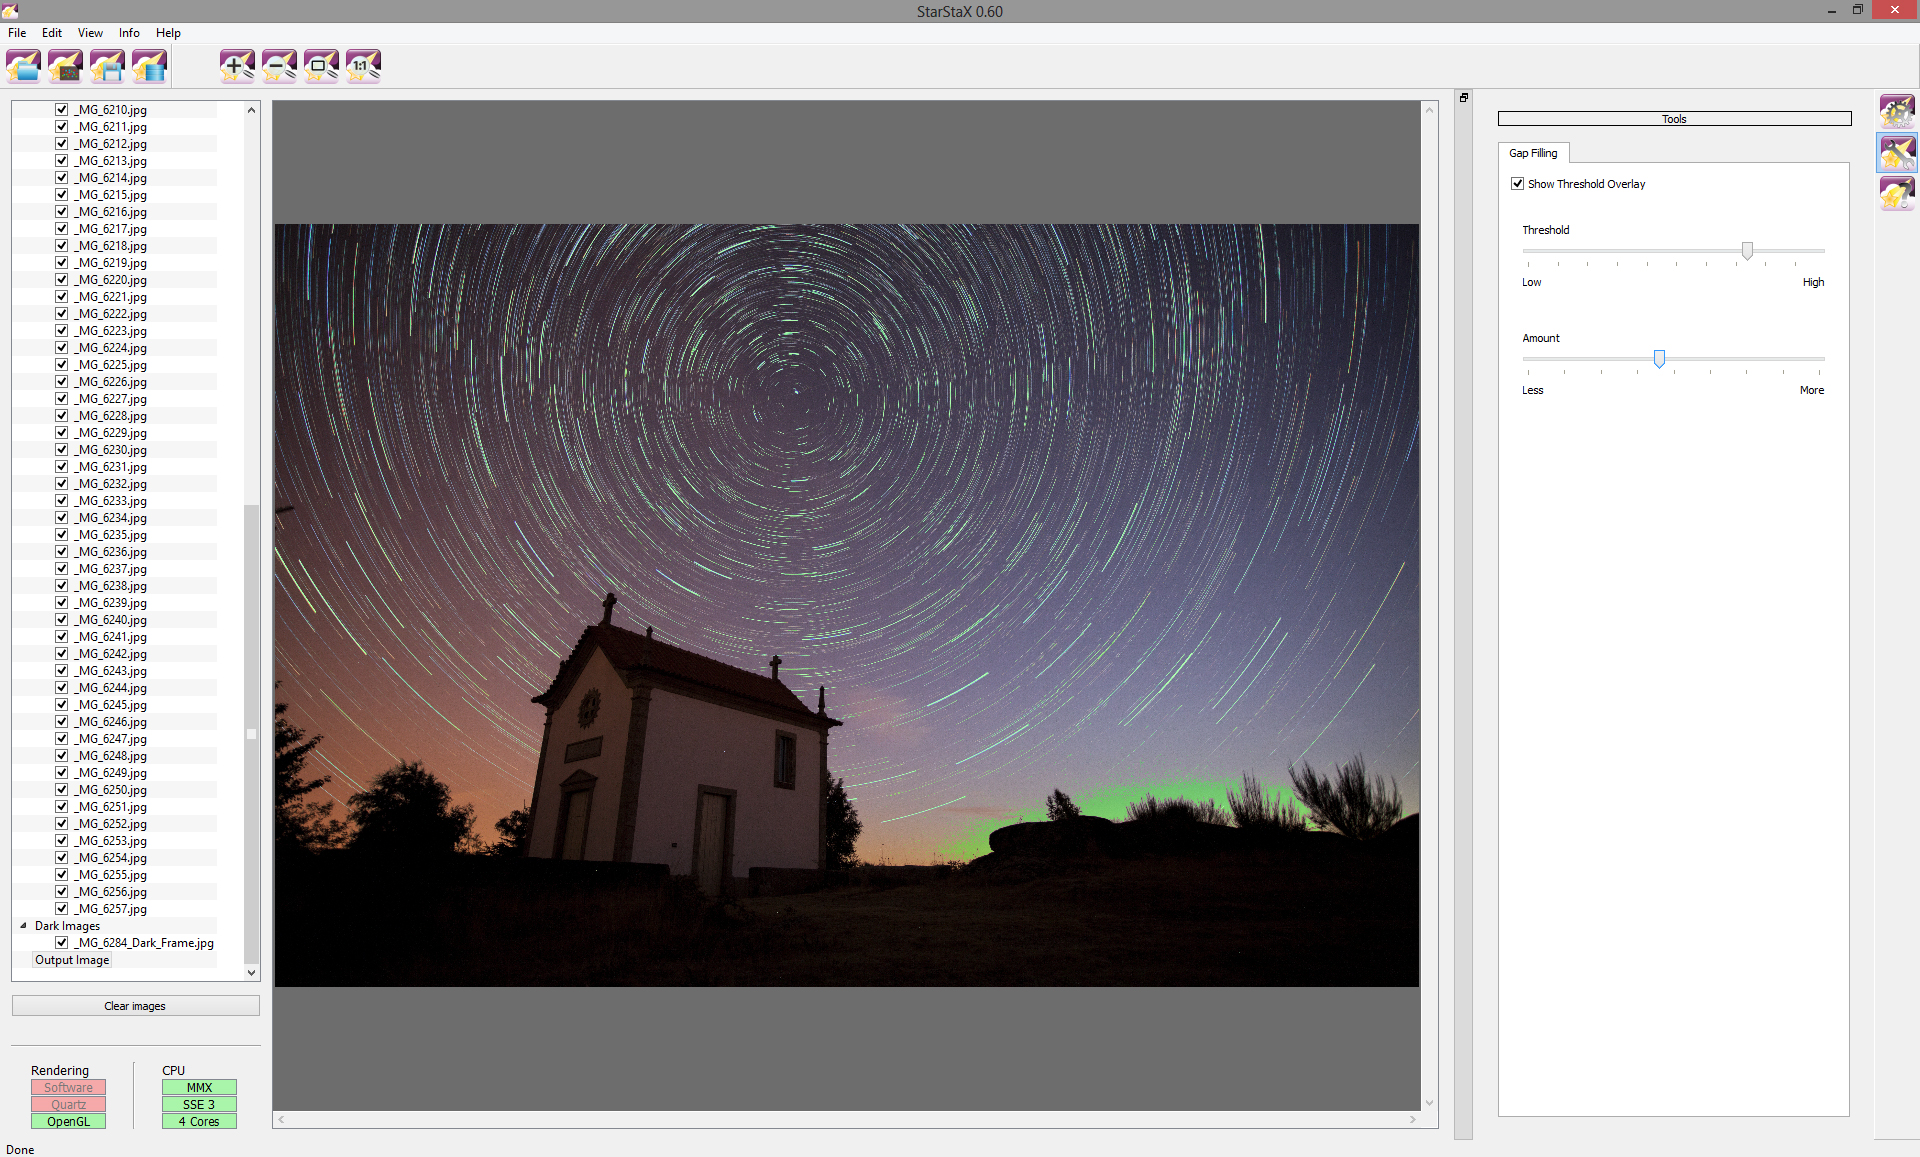
Gap Filling
Show threshold overlay will create a green layer that shows you where the gap filling will occur (see image below). Be sure to pull the threshold slider to the right until no sky is selected. Experiment with the amount until you achieve your desired result.
Finishing touches
Now that we have the star trail image, we’ll do the final post processing in Adobe Photoshop. I won’t go in great detail here as each of these steps could be a tutorial on its own, and it’s also largely a matter of personal taste. In future posts, I will include more tutorials for many of the techniques I used, but for now, this will give you the basic idea of how I completed the image.
What to look for and basic corrections
Even with all the care we took by using a dark frame, there will probably be little defects in the image, such as hot spots. These are easily removed with tools like the Spot Healing Brush Tool or by cloning them out.
After cleanup, I applied a levels adjustment and noise reduction.
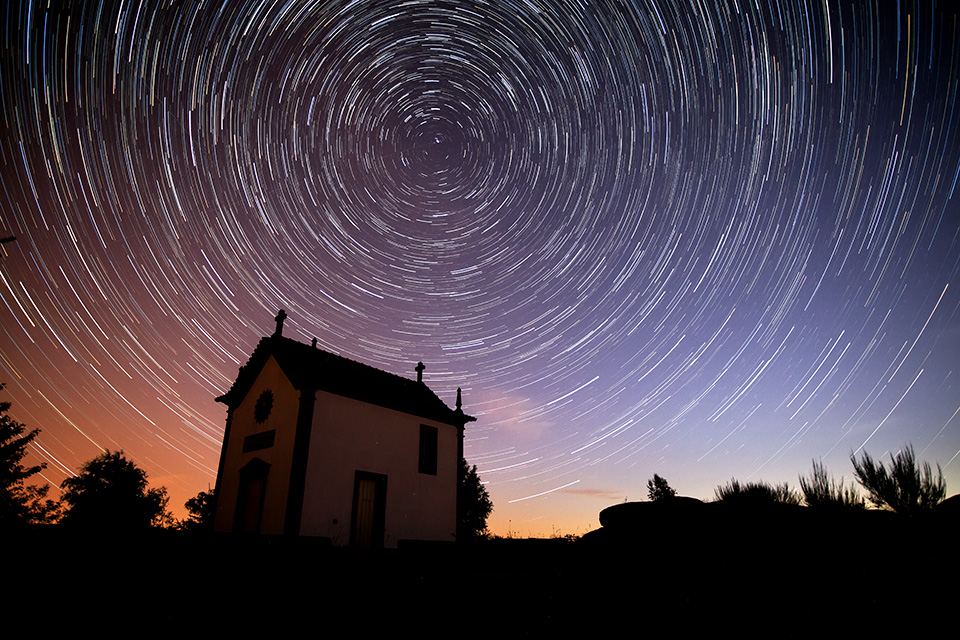
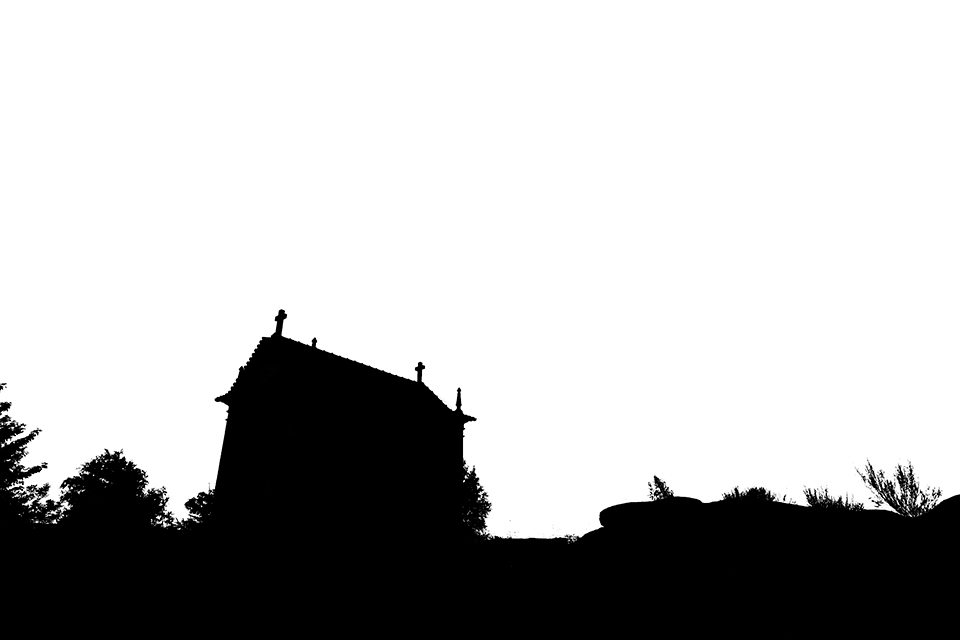
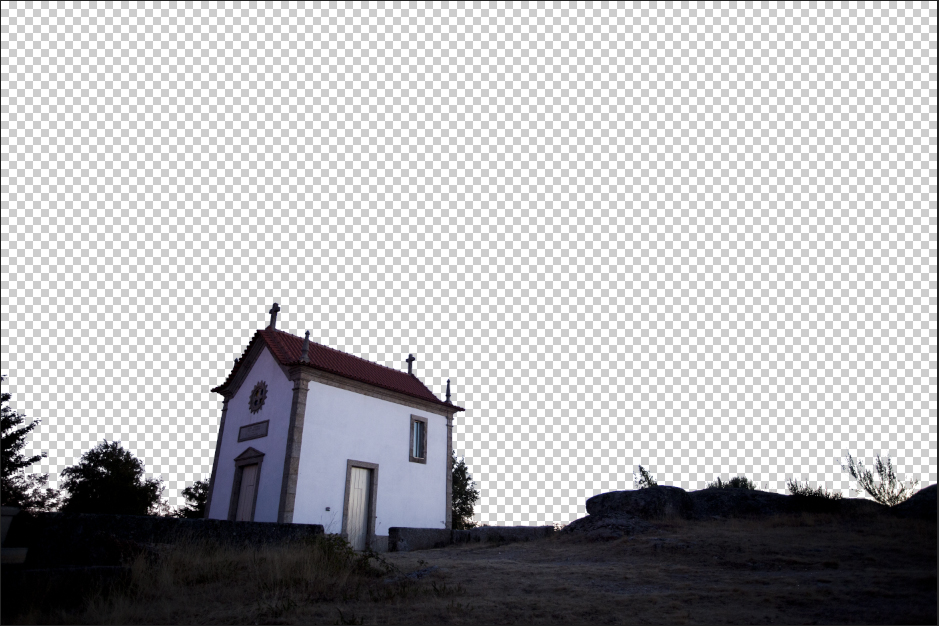
The foreground
As recommended in Part l, I took an image with the foreground in focus. I opened up the foreground image and created a mask for the sky so that only the foreground shows. I added the foreground layer to the image.
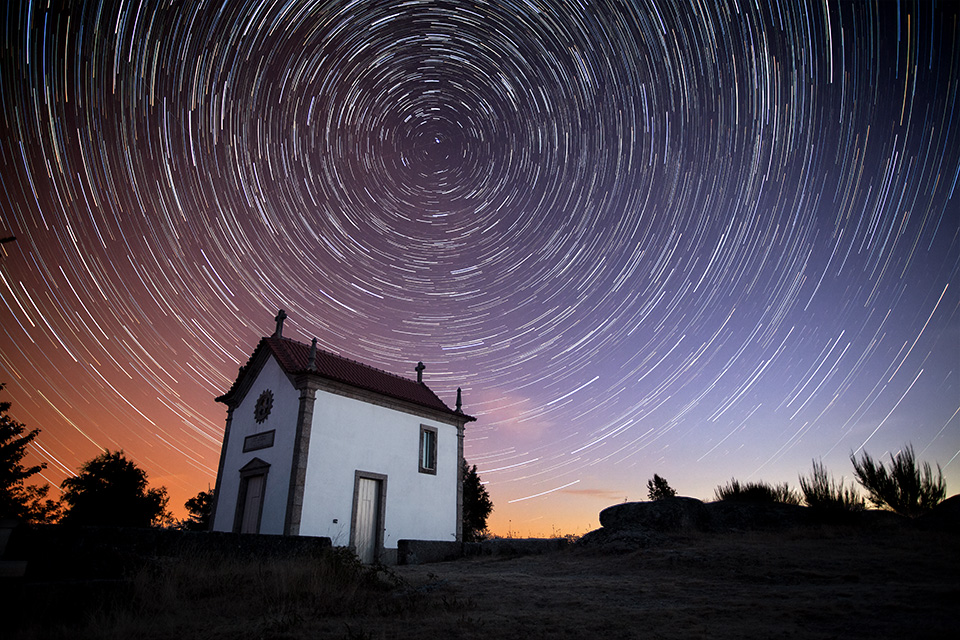
Final Corrections
This image needed both lens and perspective distortion corrections. After applying the foreground layer so that both the foreground and background are in focus, I used the transform tools to correct perspective.
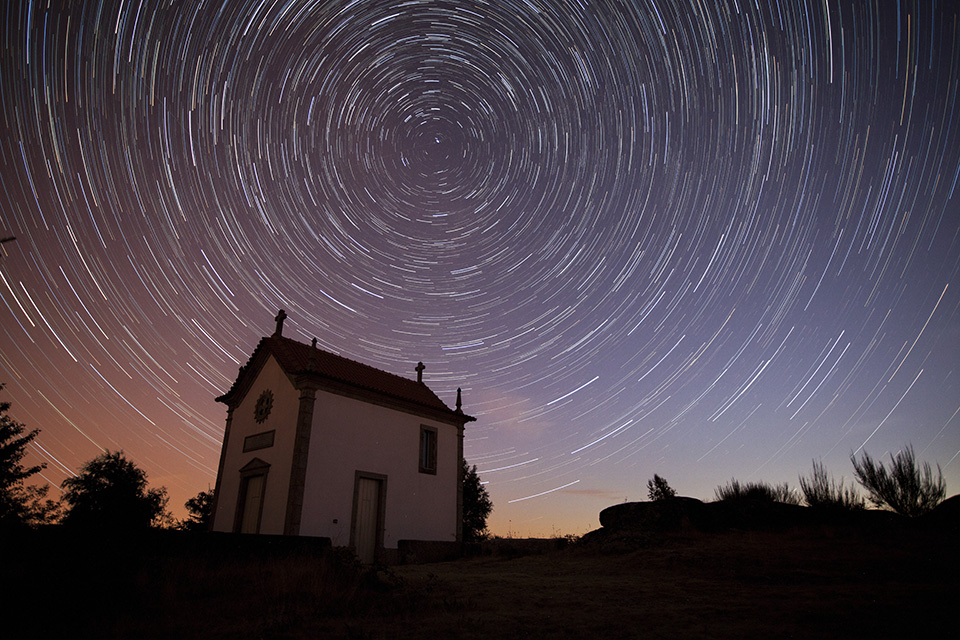
Here’s the final image:
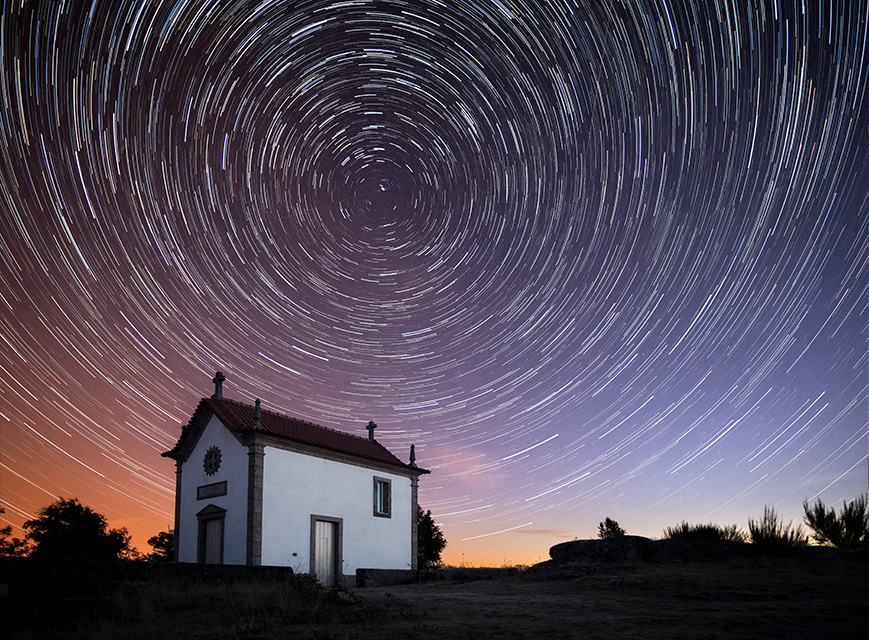
Final thoughts
Star trail photography is a bit time consuming, but very rewarding. I hope you enjoyed this tutorial and it helps you on your next star trail shoot. Feel free to leave your questions, comments or suggestions in the comments section.
Happy shooting!

One thought on “Tutorial: Shooting Star Trails (Part II of II – Processing and Retouching)”
Muito útil.
Parabéns pelo excelente trabalho!!
Zac